


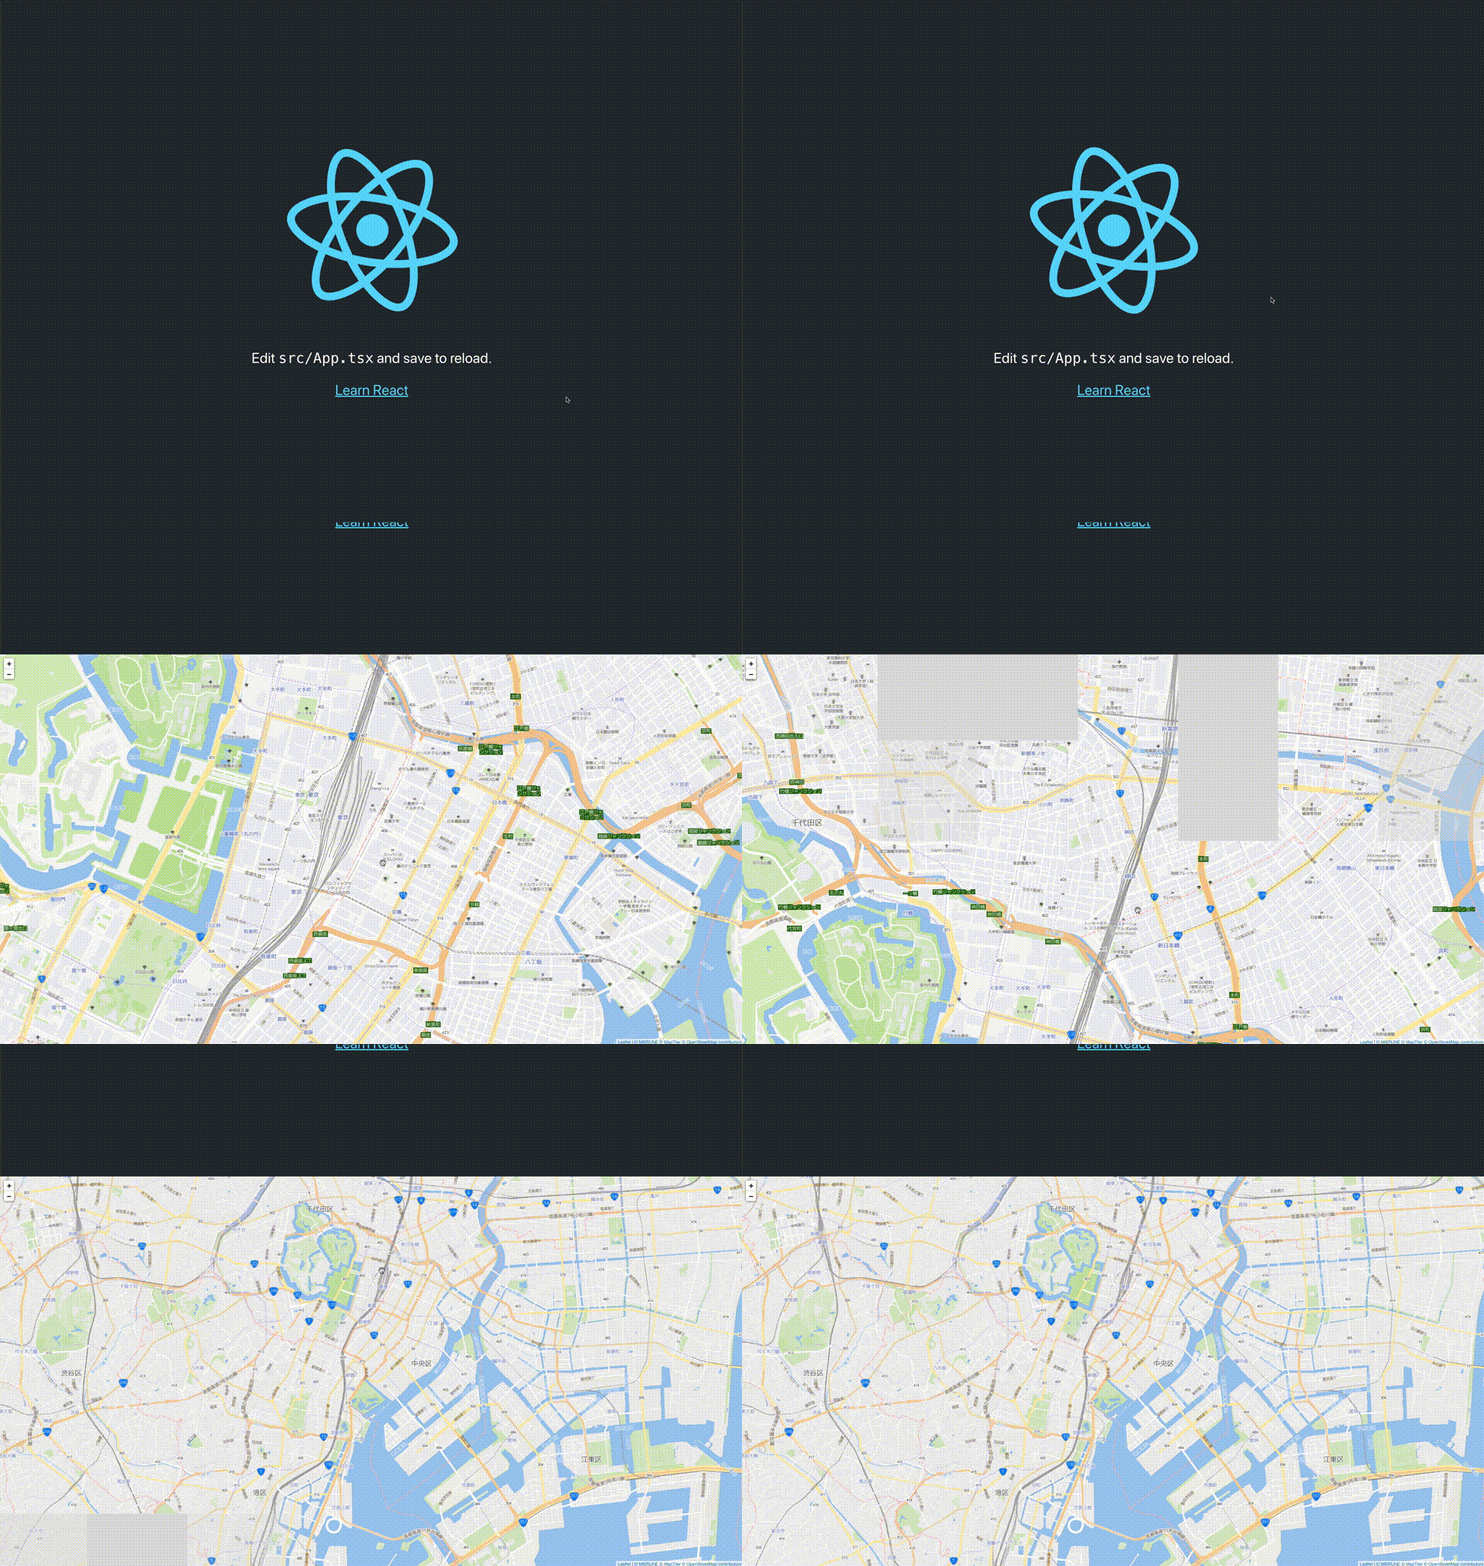
ReactでLeafletとMapbox GL JSとOpenLayersの開発環境を構築してみました!
ReactでLeafletとMapbox GL JSとOpenLayersを利用する時に、ライブラリを直接読み込んでいるかたもいると思いますが、今回はReact向けのラッパーライブラリを利用して開発環境を構築してみました!
事前準備
- Reactの環境準備
- React #002 – TypeScript環境構築
- node v14.8.0
- npm v6.14.8
- react v16.13.1
- TypeScript v3.7.5
共通設定
tsconfig.json
{
    "compilerOptions": {
        "target": "es5",
        "lib": ["dom", "dom.iterable", "esnext"],
        "allowJs": true,
        "skipLibCheck": true,
        "esModuleInterop": true,
        "allowSyntheticDefaultImports": true,
        "strict": true,
        "forceConsistentCasingInFileNames": true,
        "module": "esnext",
        "moduleResolution": "node",
        "resolveJsonModule": true,
        "isolatedModules": true,
        "noEmit": true,
        "jsx": "react",
        // 暗黙のany型をエラーにしない
        "noImplicitAny": false
    },
    "include": ["src"]
}
ライブラリがうまく動作しないので、今回は暗黙のany型をエラーにしない設定をします。
// 暗黙のany型をエラーにしない
"noImplicitAny": false
/src
index.tsx
import React from 'react';
import ReactDOM from 'react-dom';
import './index.css';
import App from './App';
import MapPane from './MapPane';
import * as serviceWorker from './serviceWorker';

ReactDOM.render(
    <React.StrictMode>
        <App />
        <MapPane />
    </React.StrictMode>,
    document.getElementById('root')
);

serviceWorker.unregister();
新規作成する「MapPane.tsx」を、「index.tsx」で読み込みます。
import MapPane from './MapPane';

<MapPane />
React x Leaflet
ReactとLeafletの組み合わせの場合は、「react-leaflet」を利用します。
ライブラリをインストールします。
npm install leaflet
npm install react-leaflet
npm install @types/leaflet
npm install @types/react-leaflet
次に、地図を表示させるためのコードを書きます。今回は、「MapPane.tsx」と「MapPane.css」を作成します。
全体構成
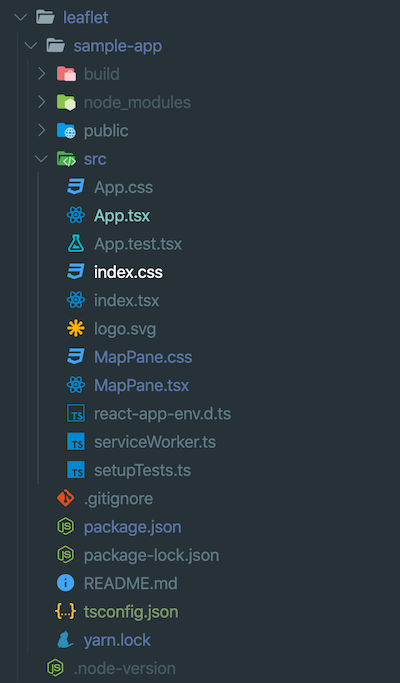
/src
MapPane.tsx
import React from 'react';
// react-leaflet読み込み
import { Map, TileLayer } from 'react-leaflet';
import 'leaflet/dist/leaflet.css';
import './MapPane.css';

export default function MapPane() {
    return (
        // マップ設定
        <Map className="MapPane" center={[35.681, 139.767]} zoom={14}>
            <TileLayer
                attribution='<a href="https://maptiler.jp/" target="_blank">© MIERUNE</a> <a href="https://www.maptiler.com/copyright/" target="_blank">© MapTiler</a> <a href="https://www.openstreetmap.org/copyright" target="_blank">© OpenStreetMap contributors</a>'
                url="https://api.maptiler.com/maps/jp-mierune-streets/256/{z}/{x}/{y}.png?key=[APIキー]"
            />
        </Map>
    );
}
Leaflet関係のライブラリを読み込みます。
// react-leaflet読み込み
import { Map, TileLayer } from 'react-leaflet';
import 'leaflet/dist/leaflet.css';
背景地図を表示します。
// マップ設定
<Map className="MapPane" center={[35.681, 139.767]} zoom={14}>
    <TileLayer
        attribution='<a href="https://maptiler.jp/" target="_blank">© MIERUNE</a> <a href="https://www.maptiler.com/copyright/" target="_blank">© MapTiler</a> <a href="https://www.openstreetmap.org/copyright" target="_blank">© OpenStreetMap contributors</a>'
        url="https://api.maptiler.com/maps/jp-mierune-streets/256/{z}/{x}/{y}.png?key=[APIキー]"
    />
</Map>
/src
MapPane.css
.MapPane {
    z-index: 0;
    height: 1000px;
    text-align: left;
}
ローカルサーバーで確認
npm startローカルサーバーを立ち上げると、マップが表示されます。

React x Mapbox GL JS
ReactとMapbox GL JSの組み合わせの場合は、「react-map-gl」を利用します。
ライブラリをインストールします。
npm install react-map-gl
npm install @types/react-map-gl
次に、地図を表示させるためのコードを書きます。今回は、「MapPane.tsx」を作成します。
全体構成
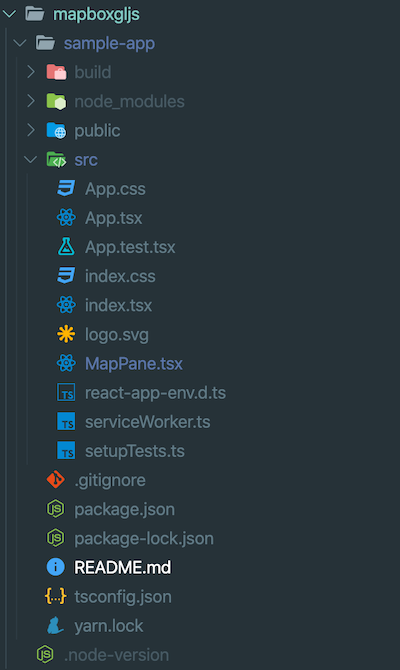
/src
MapPane.tsx
import React from 'react';
import { useState } from 'react';
// react-map-gl読み込み
import ReactMapGL from 'react-map-gl';

export default function MapPane() {
    // オプション設定
    const [viewport, setViewport] = useState({
        latitude: 35.681,
        longitude: 139.767,
        zoom: 13,
        bearing: 0,
        pitch: 0,
    });

    return (
        // マップ設定
        <ReactMapGL
            {...viewport}
            width="100%"
            height="1000px"
            mapStyle="https://api.maptiler.com/maps/jp-mierune-streets/style.json?key=[APIキー]"
            onViewportChange={(nextViewport) => setViewport(nextViewport)}
        />
    );
}
Mapbox GL JS関係のライブラリを読み込みます。
// react-map-gl読み込み
import ReactMapGL from 'react-map-gl';
オプションを設定します。
// オプション設定
const [viewport, setViewport] = useState({
    latitude: 35.681,
    longitude: 139.767,
    zoom: 13,
    bearing: 0,
    pitch: 0,
});
背景地図を表示します。
// マップ設定
<ReactMapGL
    {...viewport}
    width="100%"
    height="1000px"
    mapStyle="https://api.maptiler.com/maps/jp-mierune-streets/style.json?key=[APIキー]"
    onViewportChange={(nextViewport) => setViewport(nextViewport)}
/>
ローカルサーバーで確認
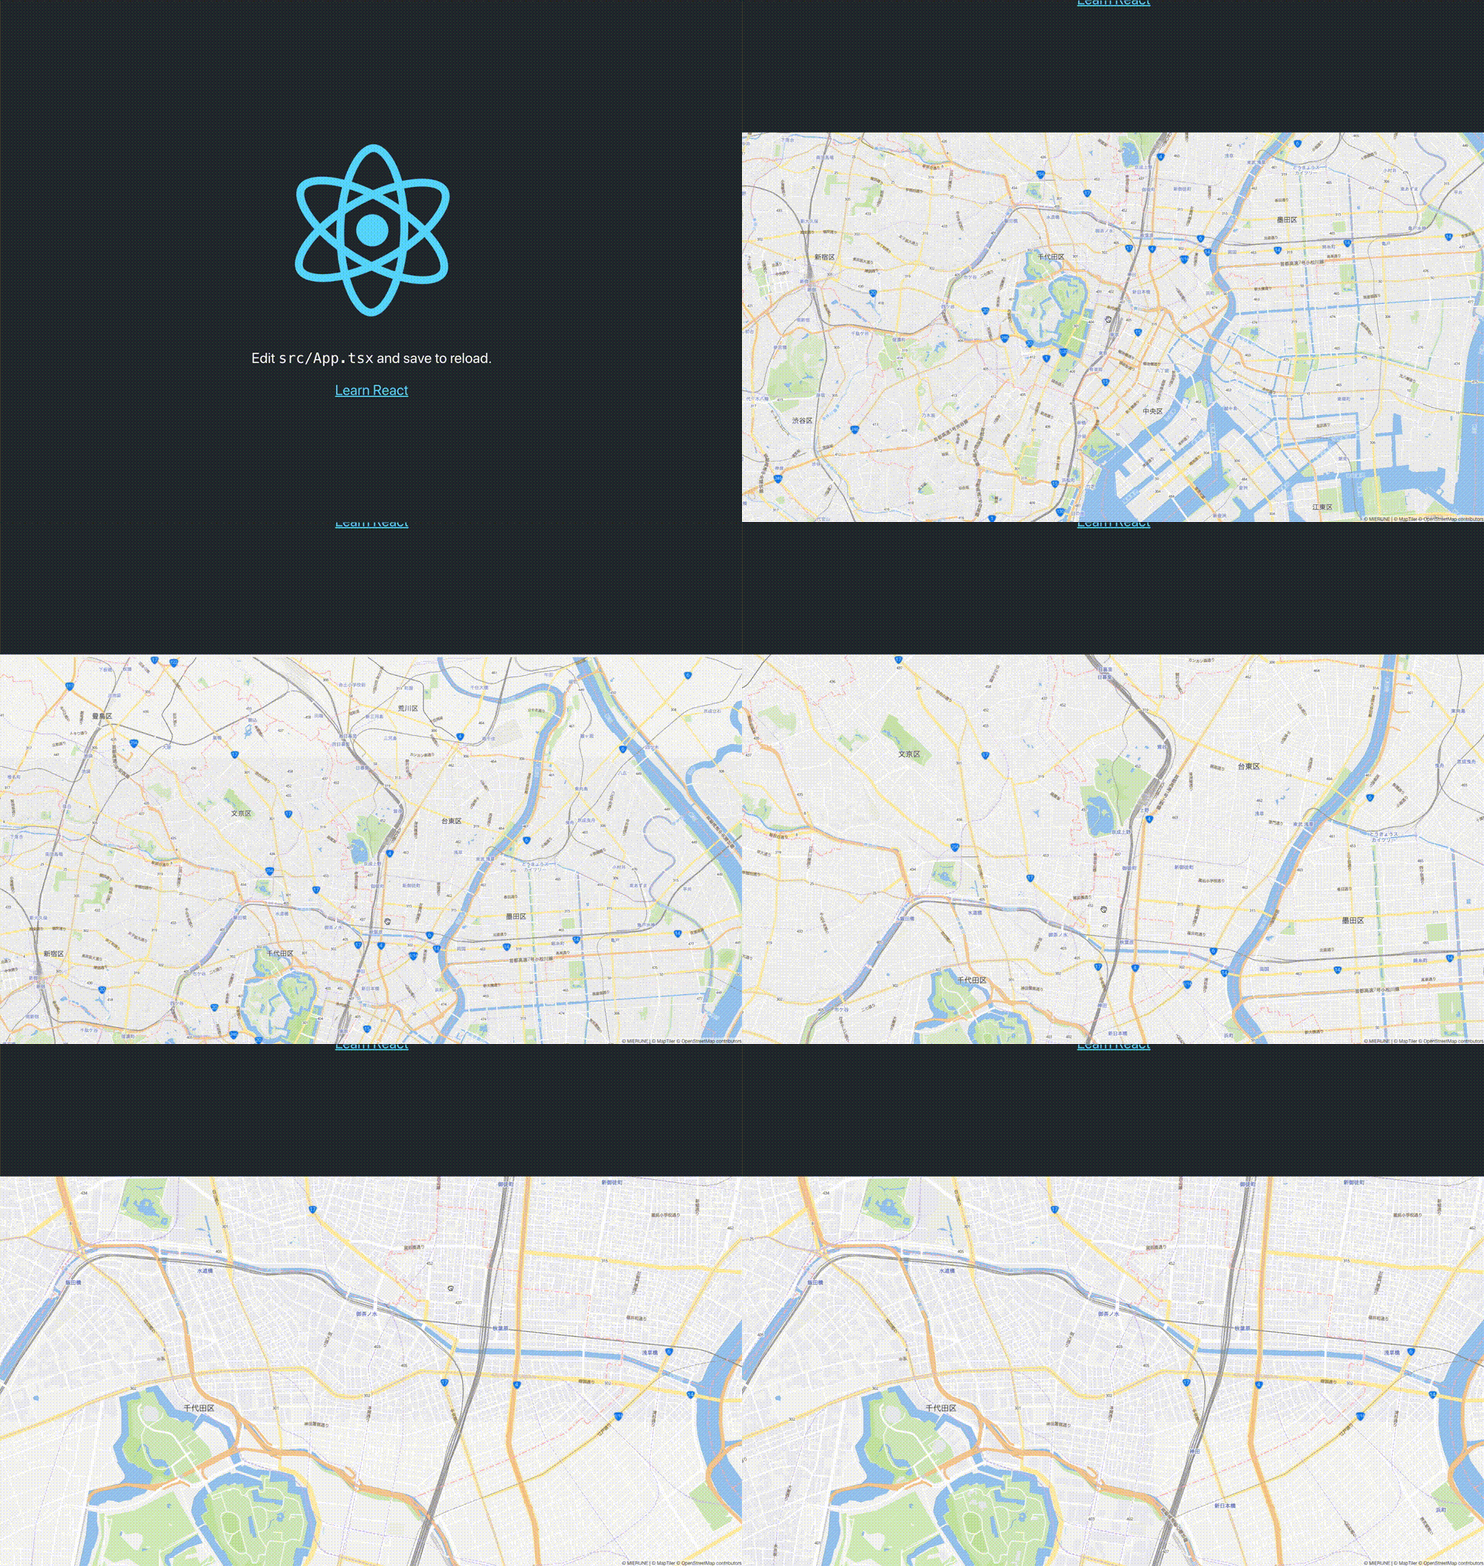
npm startローカルサーバーを立ち上げると、マップが表示されます。
React x OpenLayers
ReactとOpenLayersの組み合わせの場合は、「react-openlayers」を利用します。
ライブラリをインストールします。
npm install react-openlayers次に、地図を表示させるためのコードを書きます。今回は、「MapPane.tsx」と「MapPane.css」を作成します。
全体構成
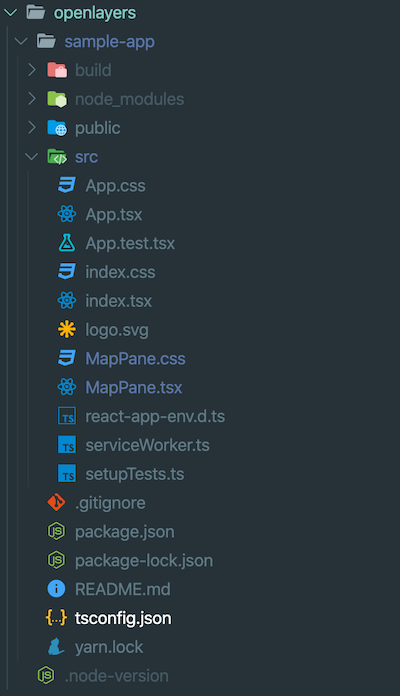
/src
MapPane.tsx
import React from 'react';
// react-openlayers読み込み
import { layer, control, Controls, Map, Layers } from 'react-openlayers';
import './MapPane.css';

export default function MapPane() {
    return (
        // マップ設定
        <Map
            className="MapPane"
            view={{
                center: [15558836.760364894, 4256835.08019988],
                zoom: 14,
            }}
        >
            <Layers>
                <layer.Tile />
            </Layers>
            <Controls attribution={true}>
                <control.Zoom />
            </Controls>
        </Map>
    );
}
OpenLayers関係のライブラリを読み込みます。
// react-openlayers読み込み
import { layer, control, Controls, Map, Layers } from 'react-openlayers';
背景地図を表示します。
// マップ設定
<Map
    className="MapPane"
    view={{
        center: [15558836.760364894, 4256835.08019988],
        zoom: 14,
    }}
>
    <Layers>
        <layer.Tile />
    </Layers>
    <Controls attribution={true}>
        <control.Zoom />
    </Controls>
</Map>
/src
MapPane.css
.openlayers-map {
    z-index: 0;
    height: 1000px;
    text-align: left;
}
ローカルサーバーで確認
npm startローカルサーバーを立ち上げると、マップが表示されます。
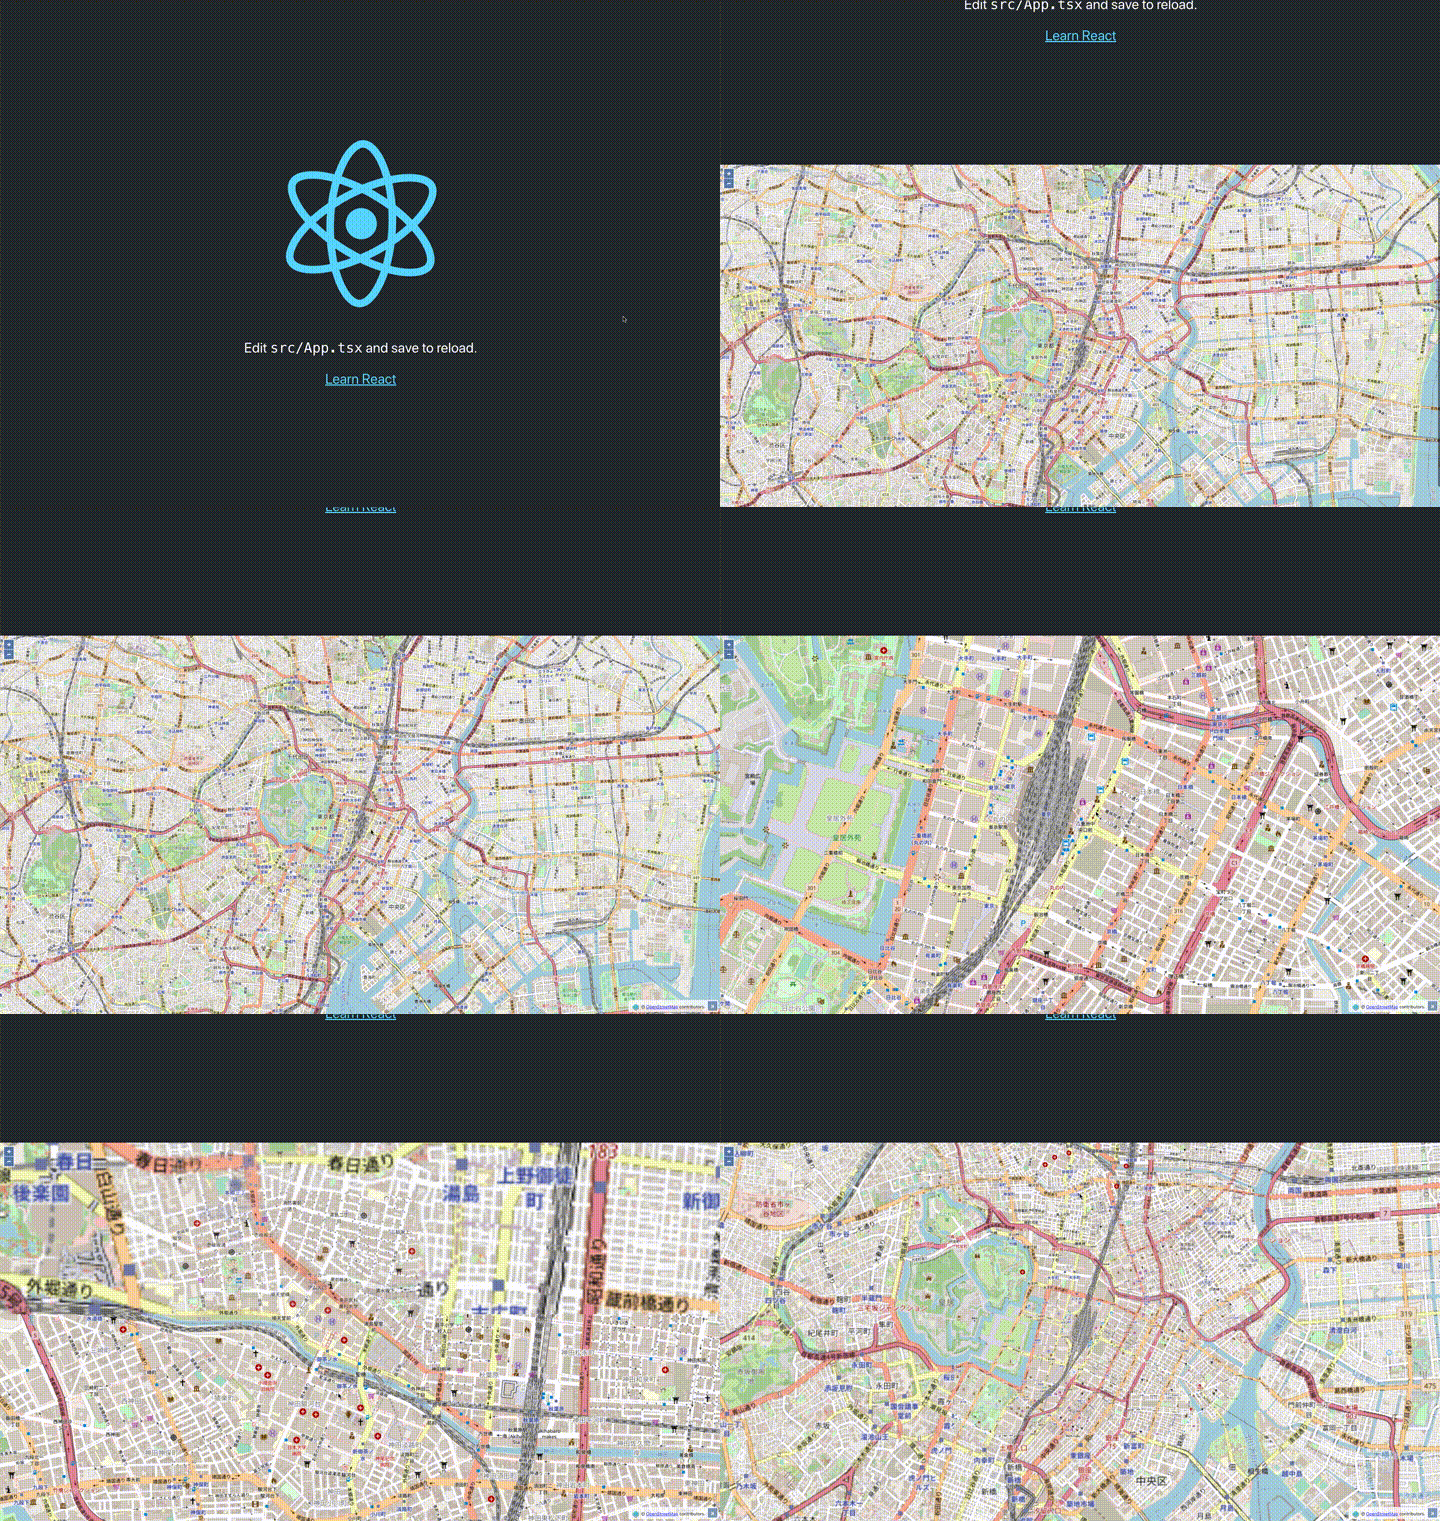
Reactとreact-leaflet・react-map-gl・react-openlayersを利用することで、手軽にReactで各マップライブラリの開発環境の構築ができました!
各マップライブラリを、直接読み込んで利用することもできますが、ラッパーライブラリを利用することである程度は手軽に操作ができると思います。ただ、用途により直接読み込むかラッパーライブラリを利用するかの選択は必要となりそうです。
メリット
- 環境構築が比較的手軽にできる
- JavaScriptフレームワークのルールにある程度合わせたコードになる
- JavaScriptフレームワークとの相性が悪いDOMやライフサイクル関係が操作しやすいかも
※今回は地図表示部分の確認だったのでなんとも言えないですが…
デメリット
- Leaflet・Mapbox GL JS・OpenLayersのピュアな全機能や、プラグインが利用できるわけではない
- ラッパーライブラリ独自のコードを覚える必要がある
- 利用者が少ないためエラー時の解決策のヒントが少ない
React・Leaflet・Mapbox GL JS・OpenLayersについて、他にも記事を書いています。よろしければぜひ。
tags - React
tags - Leaflet
tags - Mapbox GL JS
tags - OpenLayers


