

Vue.jsでOpenLayersの開発環境を構築してみました!
事前準備
- Vue.jsの環境準備
- Vue.js #001 – Vue CLI 3で環境構築
- node v13.1.0
- npm v6.13.2
- Vue.js v2.6.10

Vue.jsでOpenLayersを利用する時に、ライブラリを直接読み込んでいるかたもいると思いますが、今回はVue.js向けのラッパーライブラリを利用して開発環境を構築してみました!
Vue.js x OpenLayers
Vue.jsとOpenLayersの組み合わせの場合は、「VueLayers」を利用します。
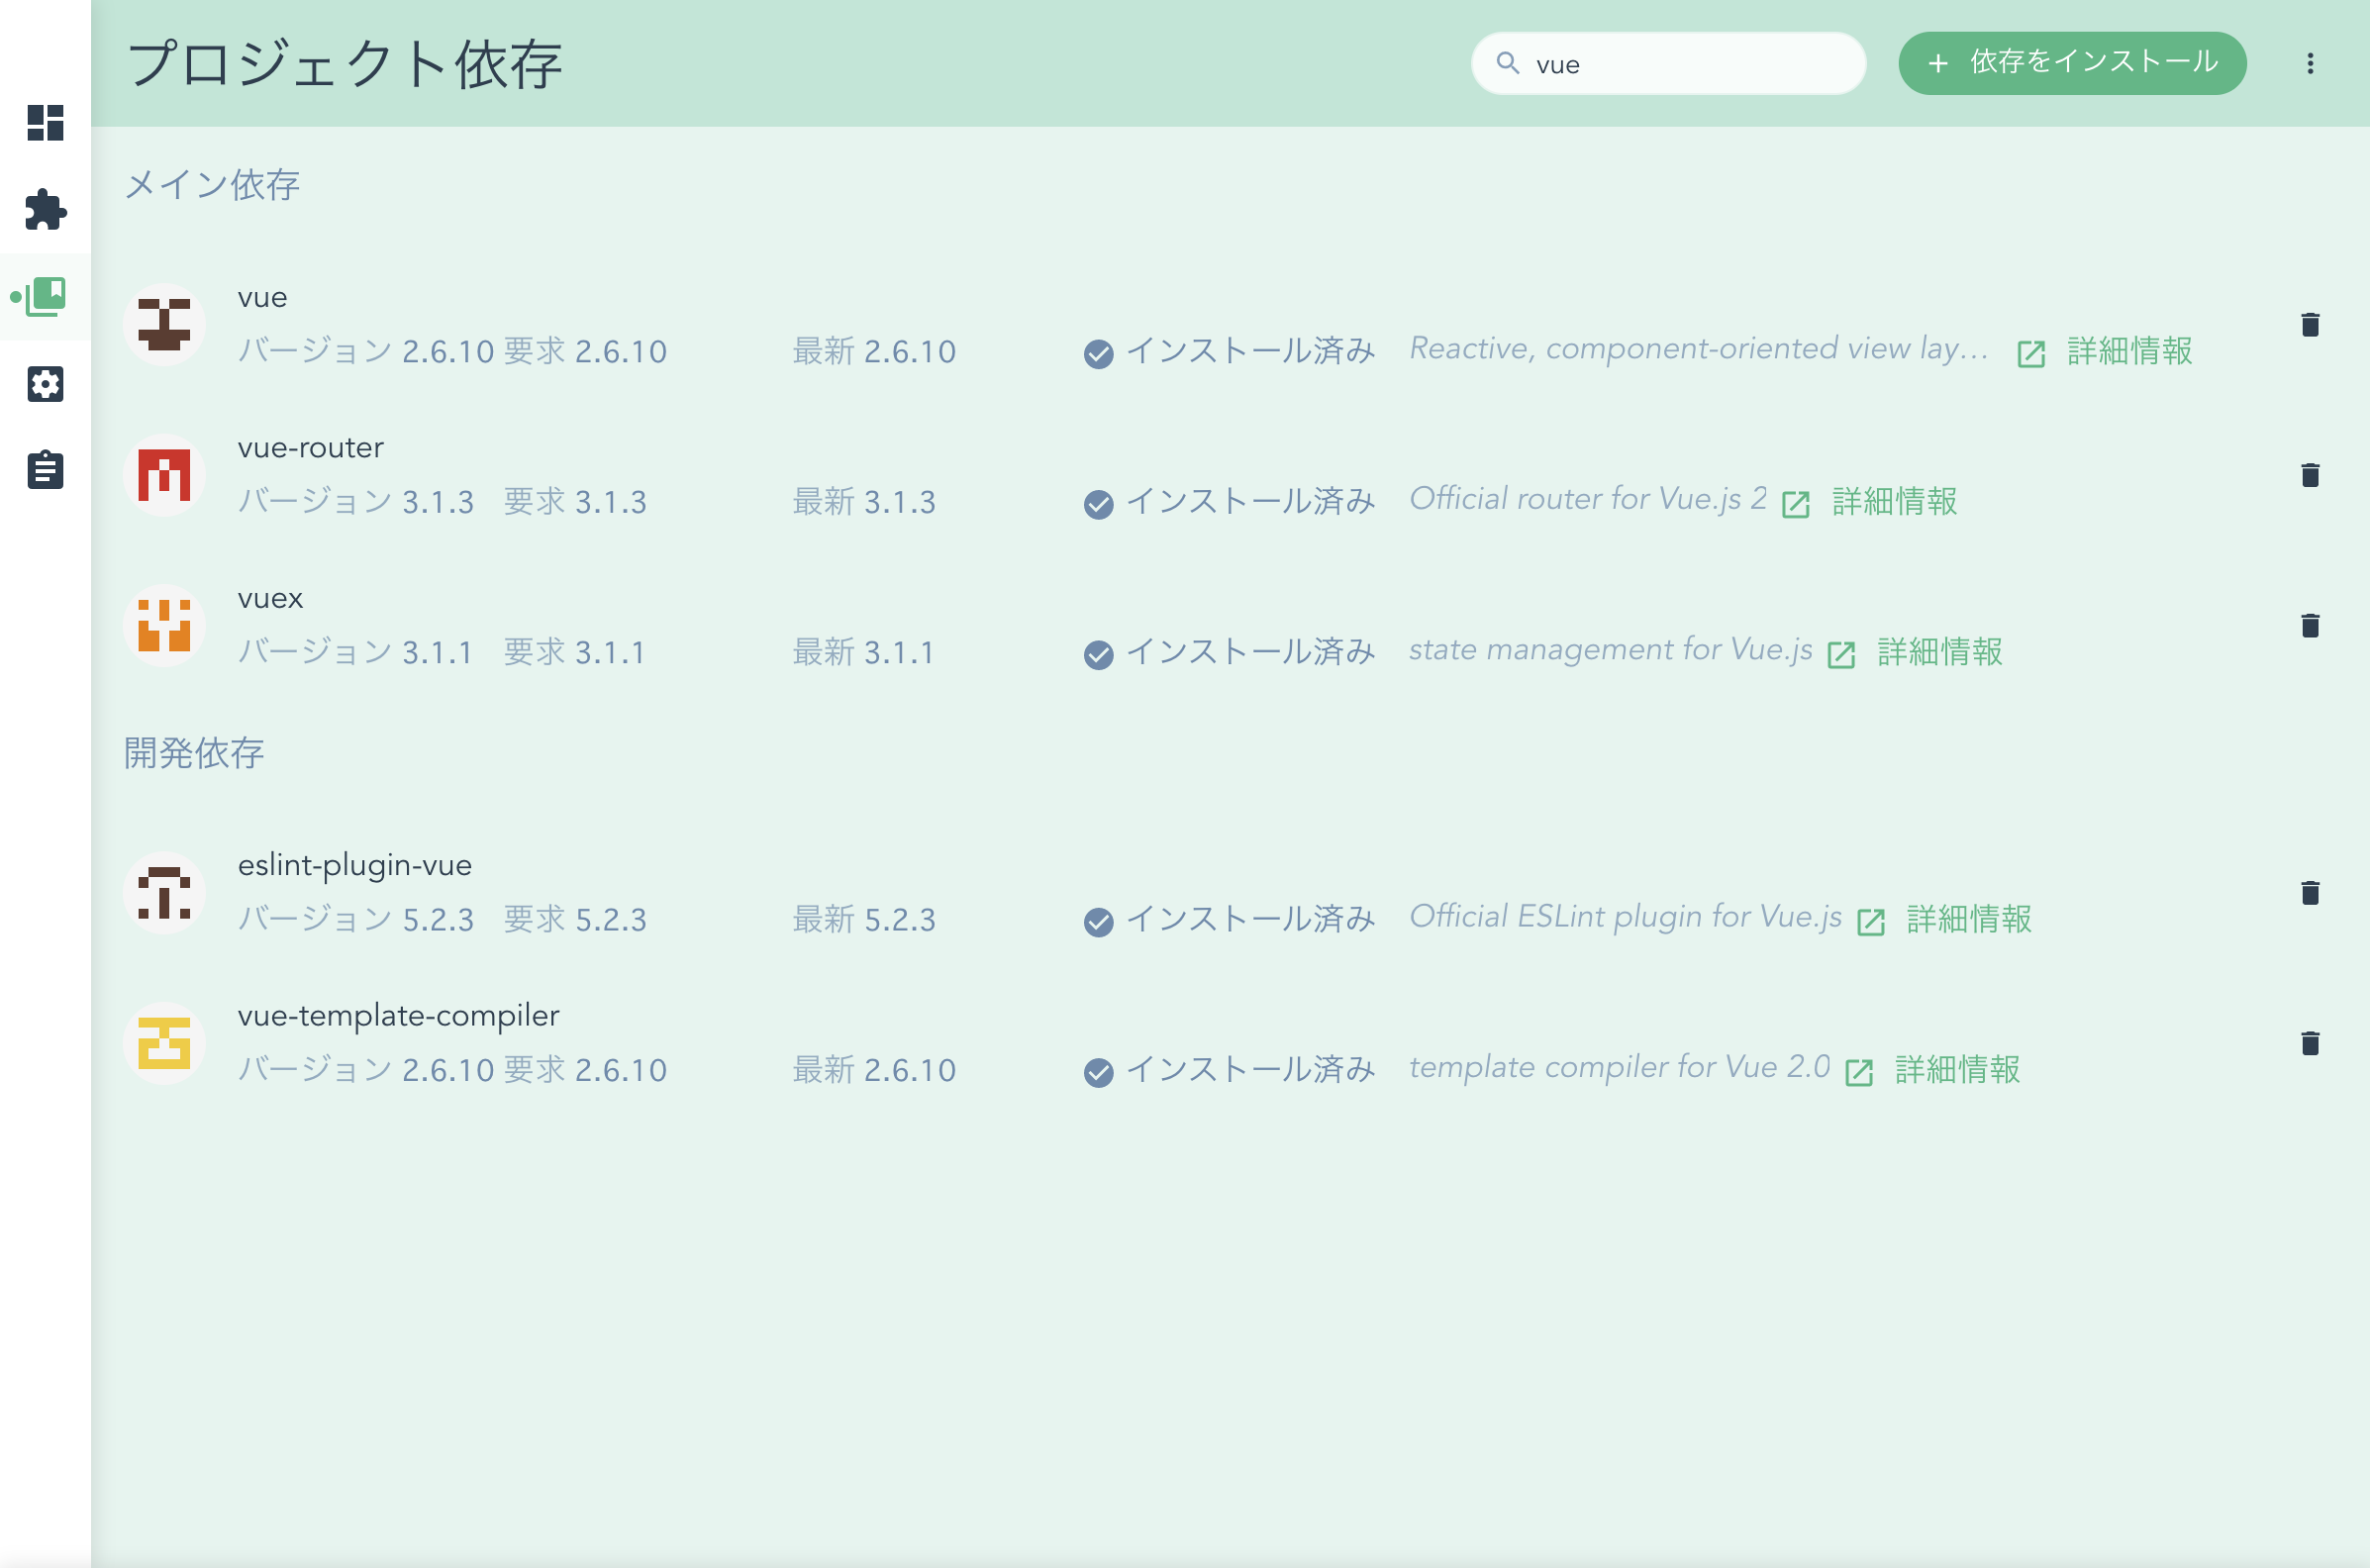
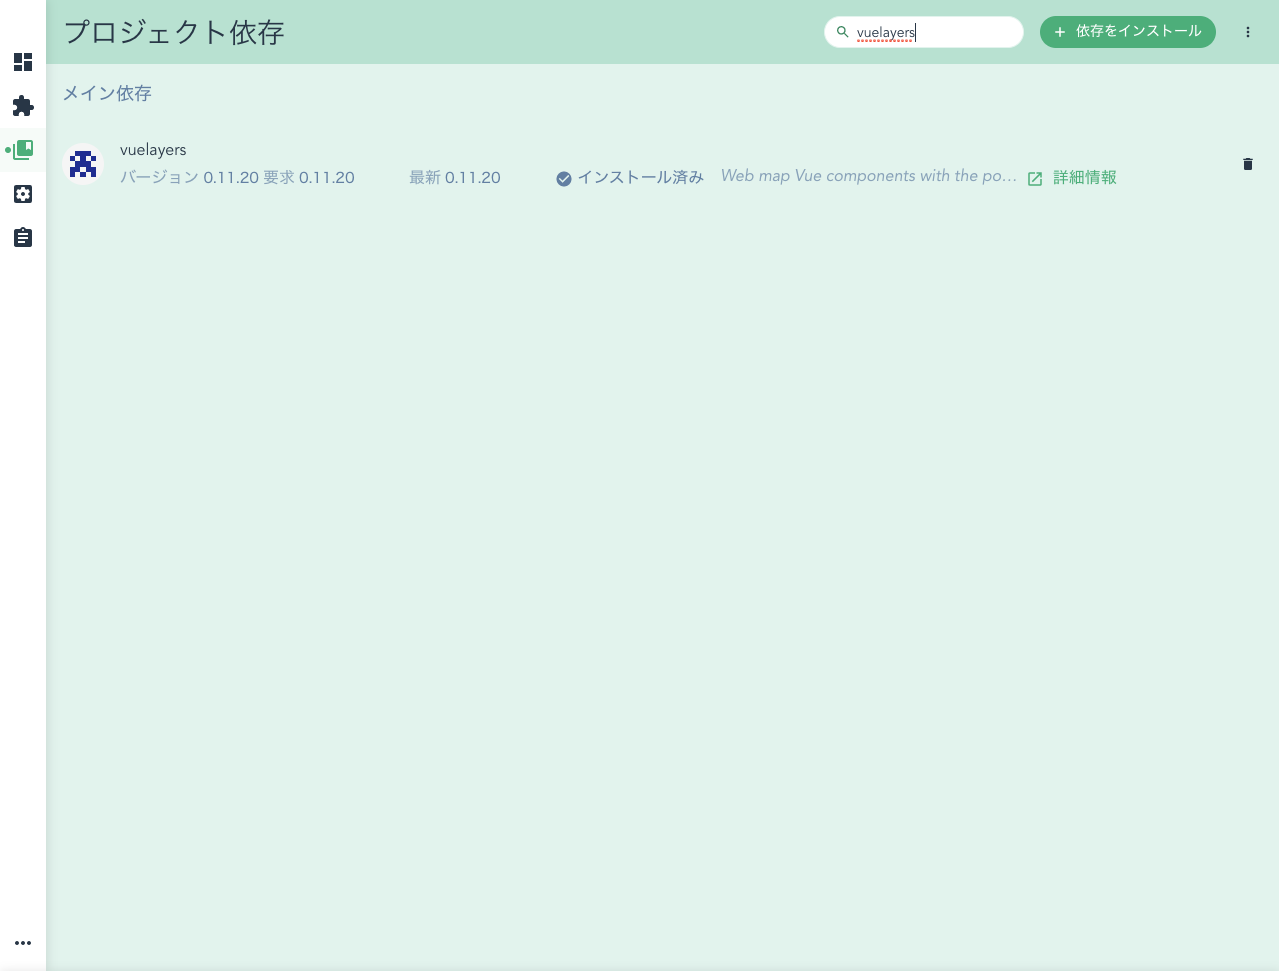
はじめに、ライブラリをインストールします。今回は「Vue CLI UI」を利用し「vuelayers」を検索し手軽にインストールします。

次に、ひな形に地図を表示させるためのコードを追記していきます。
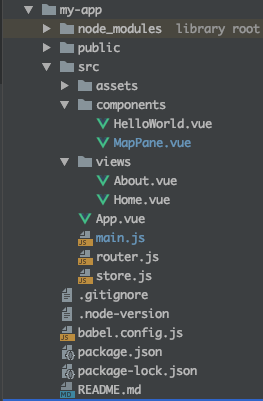
全体構成

package.json
{
  "name": "my-app",
  "version": "0.1.0",
  "private": true,
  "scripts": {
    "serve": "vue-cli-service serve",
    "build": "vue-cli-service build",
    "lint": "vue-cli-service lint"
  },
  "dependencies": {
    "core-js": "^2.6.5",
    "vue": "^2.6.10",
    "vue-router": "^3.0.3",
    "vuelayers": "^0.11.20",
    "vuex": "^3.0.1"
  },
  "devDependencies": {
    "@vue/cli-plugin-babel": "^3.12.0",
    "@vue/cli-plugin-eslint": "^3.12.0",
    "@vue/cli-service": "^3.12.0",
    "babel-eslint": "^10.0.1",
    "eslint": "^5.16.0",
    "eslint-plugin-vue": "^5.0.0",
    "vue-template-compiler": "^2.6.10"
  },
  "eslintConfig": {
    "root": true,
    "env": {
      "node": true
    },
    "extends": [
      "plugin:vue/essential",
      "eslint:recommended"
    ],
    "rules": {},
    "parserOptions": {
      "parser": "babel-eslint"
    }
  },
  "postcss": {
    "plugins": {
      "autoprefixer": {}
    }
  },
  "browserslist": [
    "> 1%",
    "last 2 versions"
  ]
}
/src
main.js
import Vue from 'vue'
import App from './App.vue'
import router from './router'
import store from './store'

// VueLayers読み込み
import VueLayers from 'vuelayers'
import 'vuelayers/lib/style.css'

Vue.use(VueLayers, {
    dataProjection: 'EPSG:4326'
})

Vue.config.productionTip = false

new Vue({
    router,
    store,
    render: h => h(App)
}).$mount('#app')
main.jsでVueLayersを読み込みます。
// VueLayers読み込み
import VueLayers from 'vuelayers'
import 'vuelayers/lib/style.css'

Vue.use(VueLayers, {
    dataProjection: 'EPSG:4326'
})
/src/views
Home.vue
<template>
    <div class="home">
        <img alt="Vue logo" src="../assets/logo.png">
        <HelloWorld msg="Welcome to Your Vue.js App"/>
        <MapPane></MapPane>
    </div>
</template>

<script>
    import HelloWorld from '@/components/HelloWorld.vue'
    import MapPane from '@/components/MapPane.vue'

    export default {
        name: 'home',
        components: {
            HelloWorld,
            MapPane
        }
    }
</script>

<style scoped>

</style>
Home.vueでMapPaneコンポーネントを読み込みます。
<MapPane></MapPane>import MapPane from '@/components/MapPane.vue'
components: {
MapPane
}/src/components
MapPane.vue
<template>
    <div class='mapPane'>
        <!--マップ-->
        <vl-map
            :load-tiles-while-animating='true'
            :load-tiles-while-interacting='true'
        >
            <!--マップ設定-->
            <vl-view
                :zoom.sync='zoom'
                :center.sync='center'
                :rotation.sync='rotation'
            ></vl-view>
            <!--背景地図設定-->
            <vl-layer-tile>
                <vl-source-xyz
                    :url='url'
                    :attributions='attributions'
                    :attributionsCollapsible='attributionsCollapsible'
                    :tileSize='tileSize'
                    :minZoom='minZoom'
                    :maxZoom='maxZoom'
                ></vl-source-xyz>
            </vl-layer-tile>
        </vl-map>
    </div>
</template>

<script>
    export default {
        name: 'MapPane',
        components: {
        },
        data() {
            return {
                // マップ設定
                center: [139.767, 35.681],
                zoom: 11,
                rotation: 0,
                // 背景地図設定
                url: 'https://tile.mierune.co.jp/mierune_mono/{z}/{x}/{y}.png',
                attributions: 'Maptiles by <a href="http://mierune.co.jp" target="_blank">MIERUNE</a>, under CC BY. Data by <a href="http://osm.org/copyright" target="_blank">OpenStreetMap</a> contributors, under ODbL.',
                attributionsCollapsible: false,
                tileSize: [256, 256],
                minZoom: 0,
                maxZoom: 18
            }
        }
    }
</script>

<style scoped>
    .mapPane {
        height: 600px;
        margin: 0;
        text-align: left;
    }
</style>
マップのタグを指定します。
<template>
    <div class='mapPane'>
        <!--マップ-->
        <vl-map
            :load-tiles-while-animating='true'
            :load-tiles-while-interacting='true'
        >
            <!--マップ設定-->
            <vl-view
                :zoom.sync='zoom'
                :center.sync='center'
                :rotation.sync='rotation'
            ></vl-view>
            <!--背景地図設定-->
            <vl-layer-tile>
                <vl-source-xyz
                    :url='url'
                    :attributions='attributions'
                    :attributionsCollapsible='attributionsCollapsible'
                    :tileSize='tileSize'
                    :minZoom='minZoom'
                    :maxZoom='maxZoom'
                ></vl-source-xyz>
            </vl-layer-tile>
        </vl-map>
    </div>
</template>
マップのサイズを指定します。
.mapPane {
    height: 600px;
    margin: 0;
    text-align: left;
}
マップと背景地図の設定をします。
export default {
    name: 'MapPane',
    components: {
    },
    data() {
        return {
            // マップ設定
            center: [139.767, 35.681],
            zoom: 11,
            rotation: 0,
            // 背景地図設定
            url: 'https://tile.mierune.co.jp/mierune_mono/{z}/{x}/{y}.png',
            attributions: 'Maptiles by <a href="http://mierune.co.jp" target="_blank">MIERUNE</a>, under CC BY. Data by <a href="http://osm.org/copyright" target="_blank">OpenStreetMap</a> contributors, under ODbL.',
            attributionsCollapsible: false,
            tileSize: [256, 256],
            minZoom: 0,
            maxZoom: 18
        }
    }
}
簡易ローカルサーバーで確認
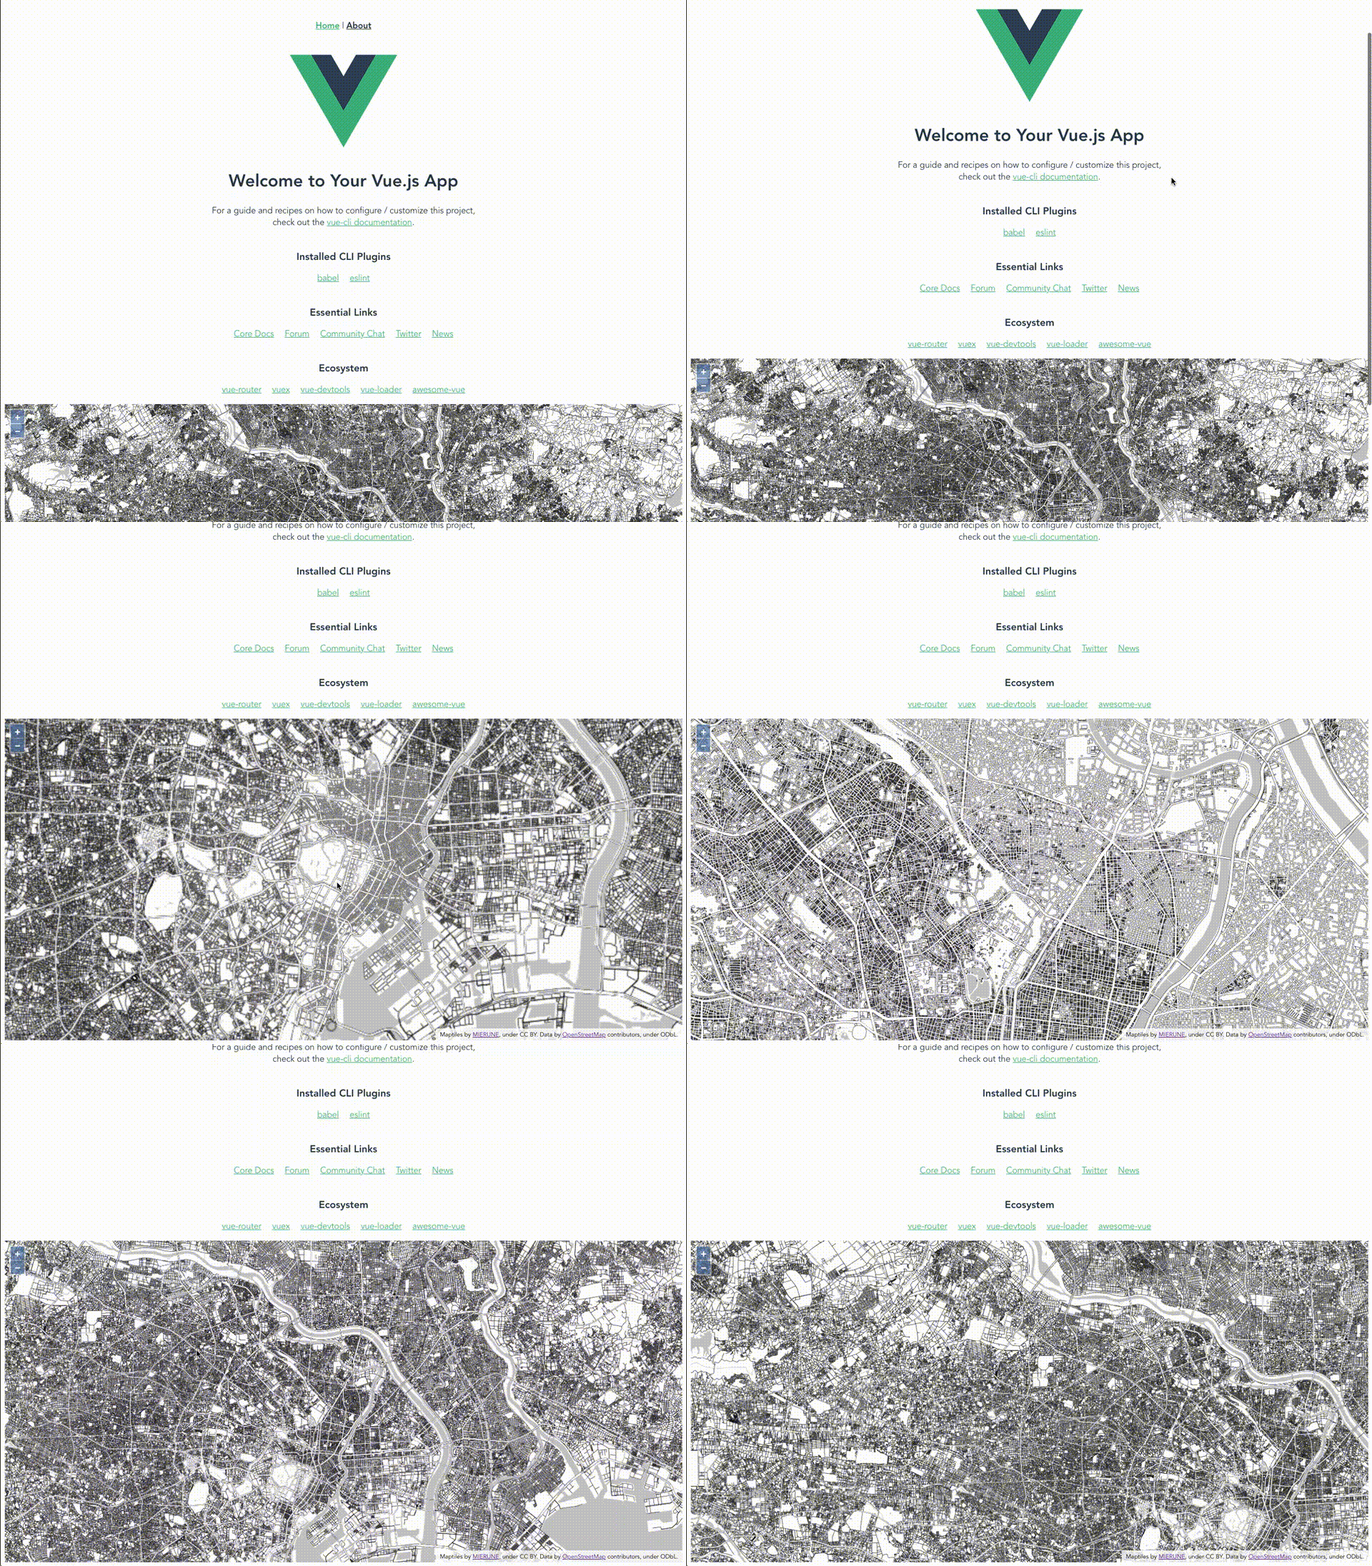
npm run serveローカルサーバーを立ち上げると、マップが表示されます。

Vue.jsとVueLayersを利用することで、手軽にVue.jsでOpenLayersの開発環境の構築ができました!
OpenLayersのライブラリを、直接読み込んで利用することもできると思いますが、ラッパーライブラリを利用することである程度は手軽に操作ができると思います。ただ、用途により直接読み込むかラッパーライブラリを利用するかの選択は必要となりそうです。
メリット
- 環境構築が比較的手軽にできる
- HTMLのタグで直感的に指定できる
- JavaScriptフレームワークのルールにある程度合わせたコードになる
- JavaScriptフレームワークとの相性が悪いDOMやライフサイクル関係が操作しやすいかも
※今回は地図表示部分の確認だったのでなんとも言えないですが…
デメリット
- OpenLayersのピュアな全機能や、プラグインが利用できるわけではない
- ラッパーライブラリ独自のコードを覚える必要がある
- 利用者が少ないためエラー時の解決策のヒントが少ない
Vue.js・OpenLayersについて、他にも記事を書いています。よろしければぜひ。
tags - Vue.js
tags - OpenLayers


