

この記事は、「Elastic Stack (Elasticsearch) Advent Calendar 2019」の15日目の記事です。
ElasticsearchとPythonで空間検索してみました!
「Try #004 – elasticsearchとkibanaでジオ的なことをしてみた」というAdvent Calendarの記事を書いた以来の久しぶりです!
事前準備
・Elastic Cloud
・インポート用ポイントデータ (GeoJSON)
今回、Elasticsearchの環境はElastic Cloudを利用しました。環境を手軽にデプロイできて便利です。
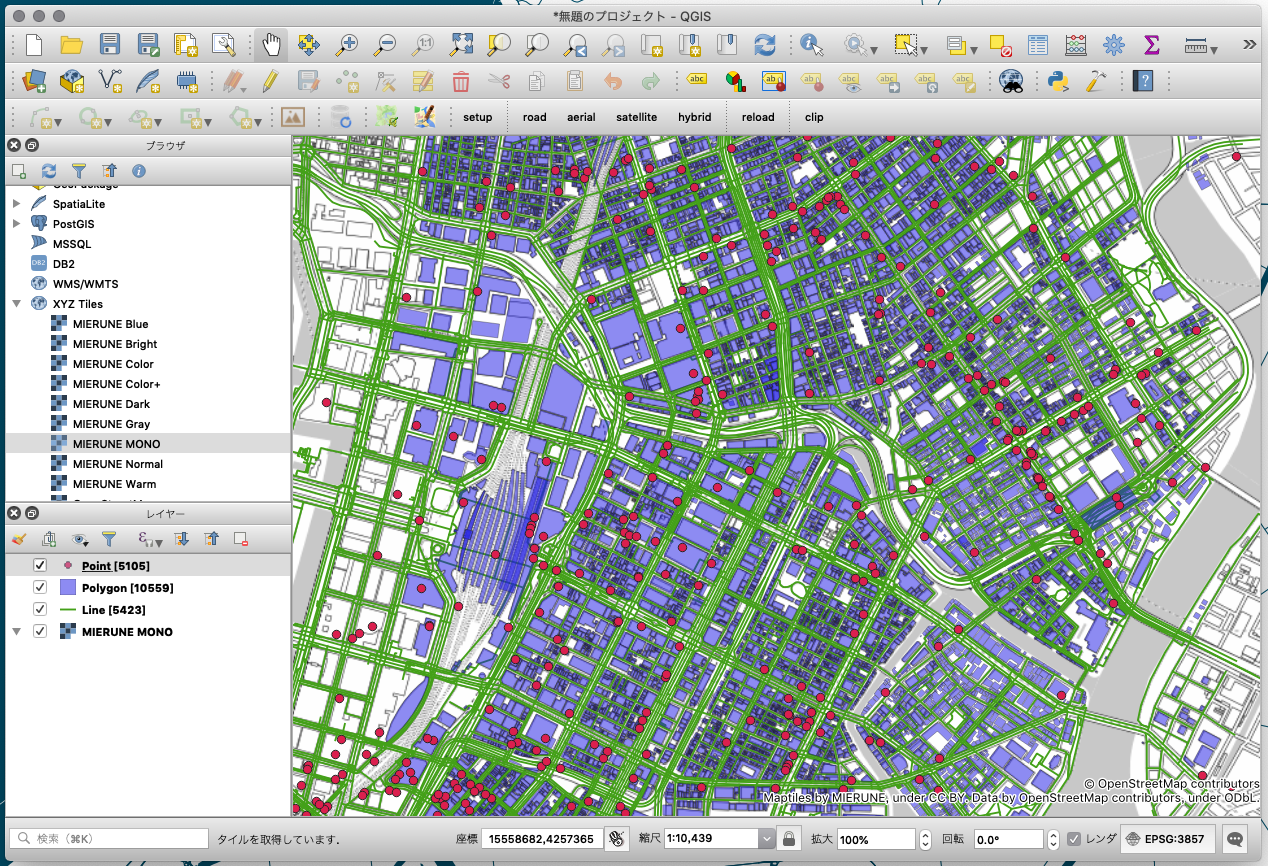
Elasticsearchに登録するポイントデータも準備します。こんな感じのOSMのお店のポイントデータをGeoJSONで準備しておきます。
Elasticsearchにデータを登録します。
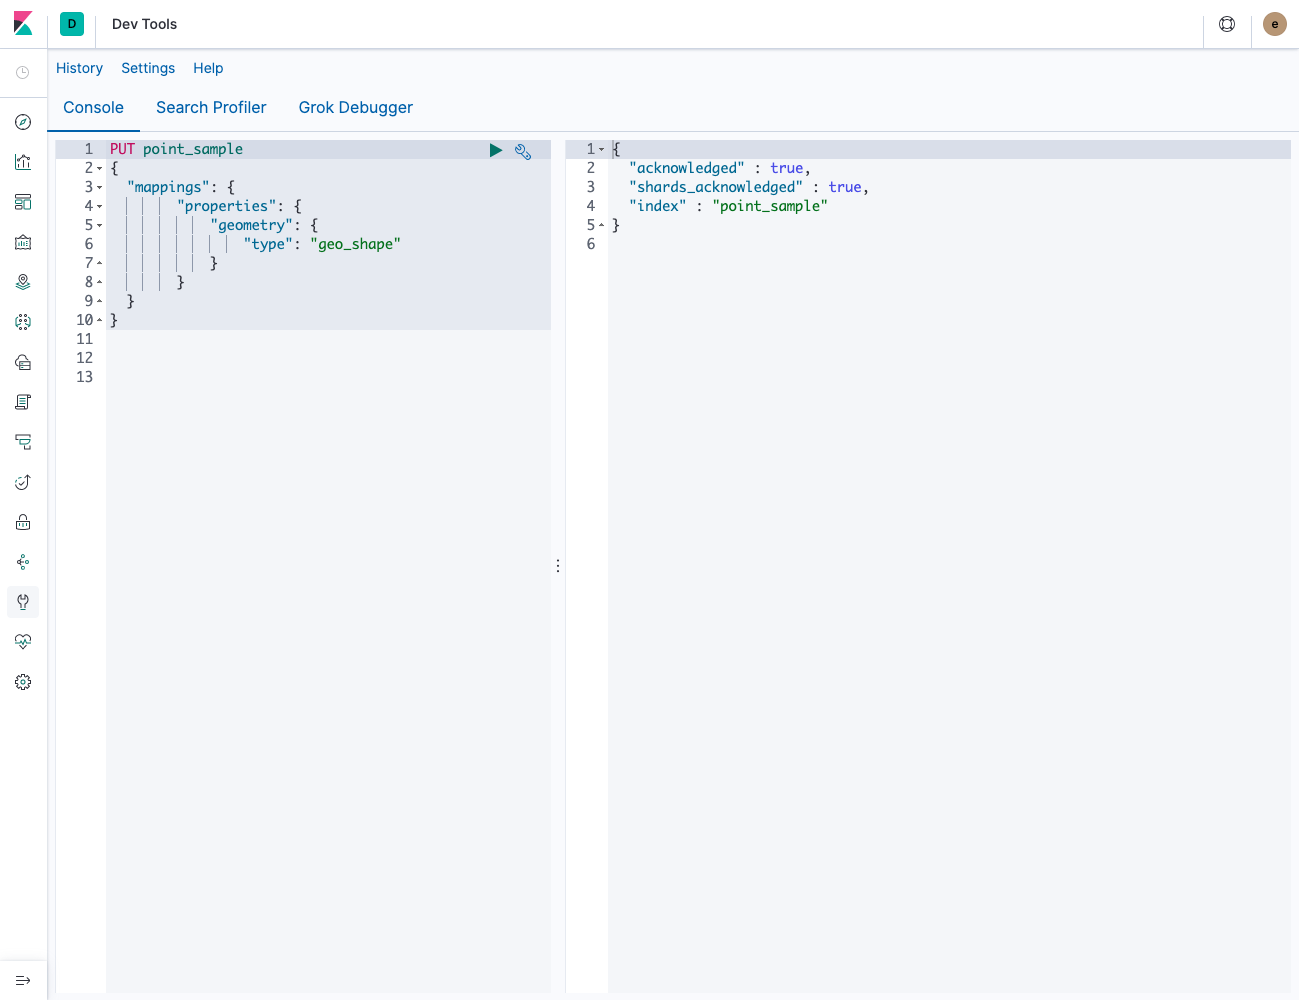
indexを作成。ジオメトリ属性の場合は一応指定する必要があるようです。今回は「geo_shape」を利用しました。他にも、「geo_point」があり、それぞれで空間検索方法の種類が違ったりします。
PUT point_sample
{
  "mappings": {
        "properties": {
            "geometry": {
                "type": "geo_shape"
            }
        }
  }
}
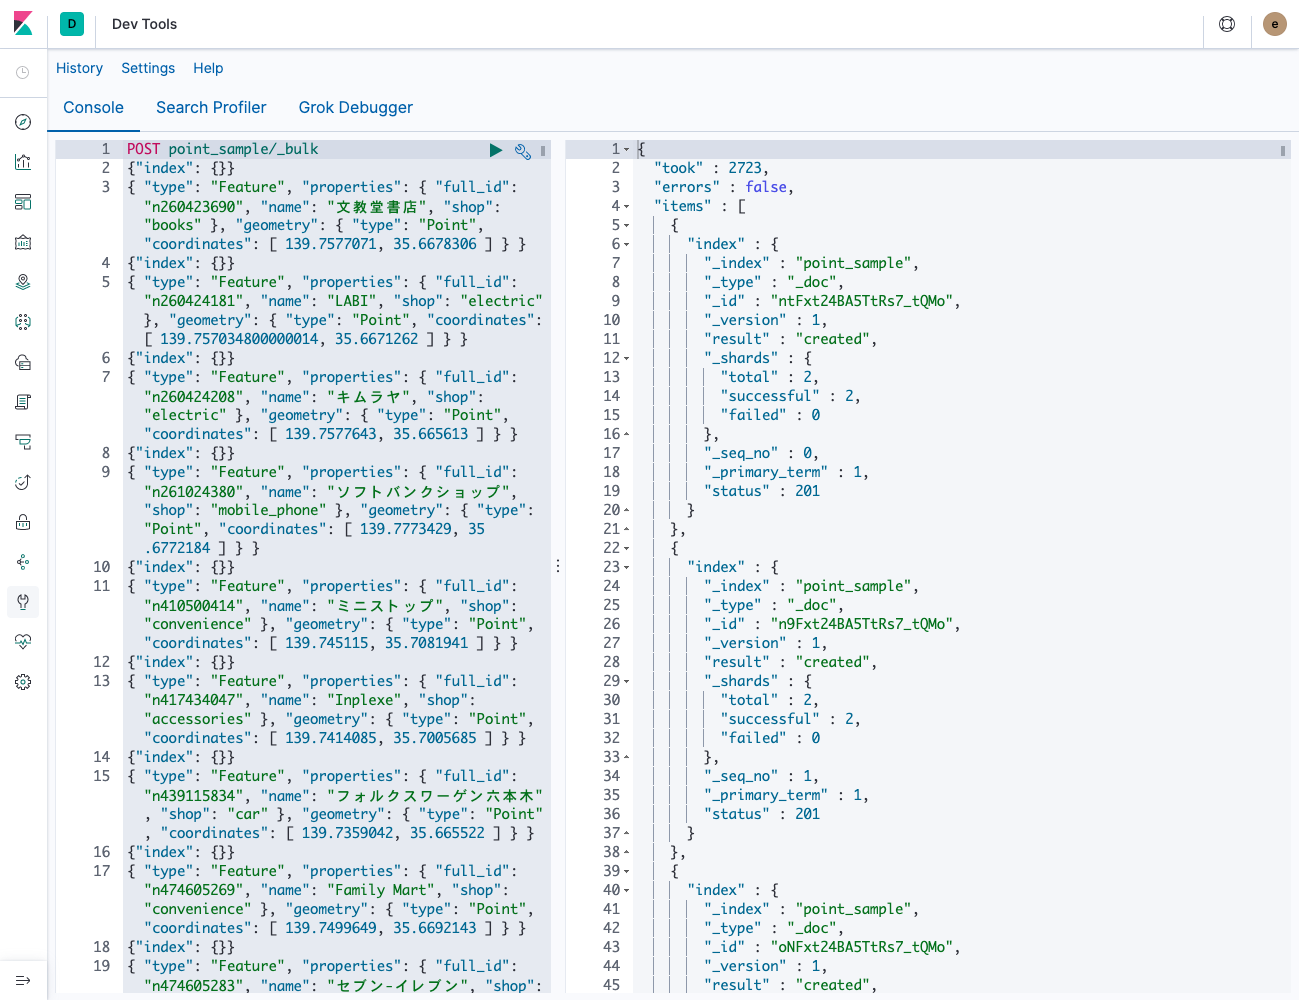
データのインポートはbulk APIでおこないます。bulkでインポートする場合は、速度も早くid無しでもインポート可能です。
GeoJSONをbulk APIでインポートしたい場合は、レコードの部分のみを取り出して、「{“index”: {}}」と組み合わせることでインポート可能です。内部データ量にもよりますが約5000ポイント以上はエラーになるので、分けてインポートする必要があります。
POST point_sample/_bulk
{"index": {}}
{ "type": "Feature", "properties": { "full_id": "n6528041002", "name": "セブンイレブン", "shop": "convenience" }, "geometry": { "type": "Point", "coordinates": [ 139.7531889, 35.6459551 ] } }
{"index": {}}
{ "type": "Feature", "properties": { "full_id": "n6528045602", "name": "セブンイレブン", "shop": "convenience" }, "geometry": { "type": "Point", "coordinates": [ 139.763449, 35.6677192 ] } }
{"index": {}}
{ "type": "Feature", "properties": { "full_id": "n6528045802", "name": "ローソン", "shop": "convenience" }, "geometry": { "type": "Point", "coordinates": [ 139.7636326, 35.667623 ] } }
....
データがインポートされたかを、全検索で確認します。
GET point_sample/_search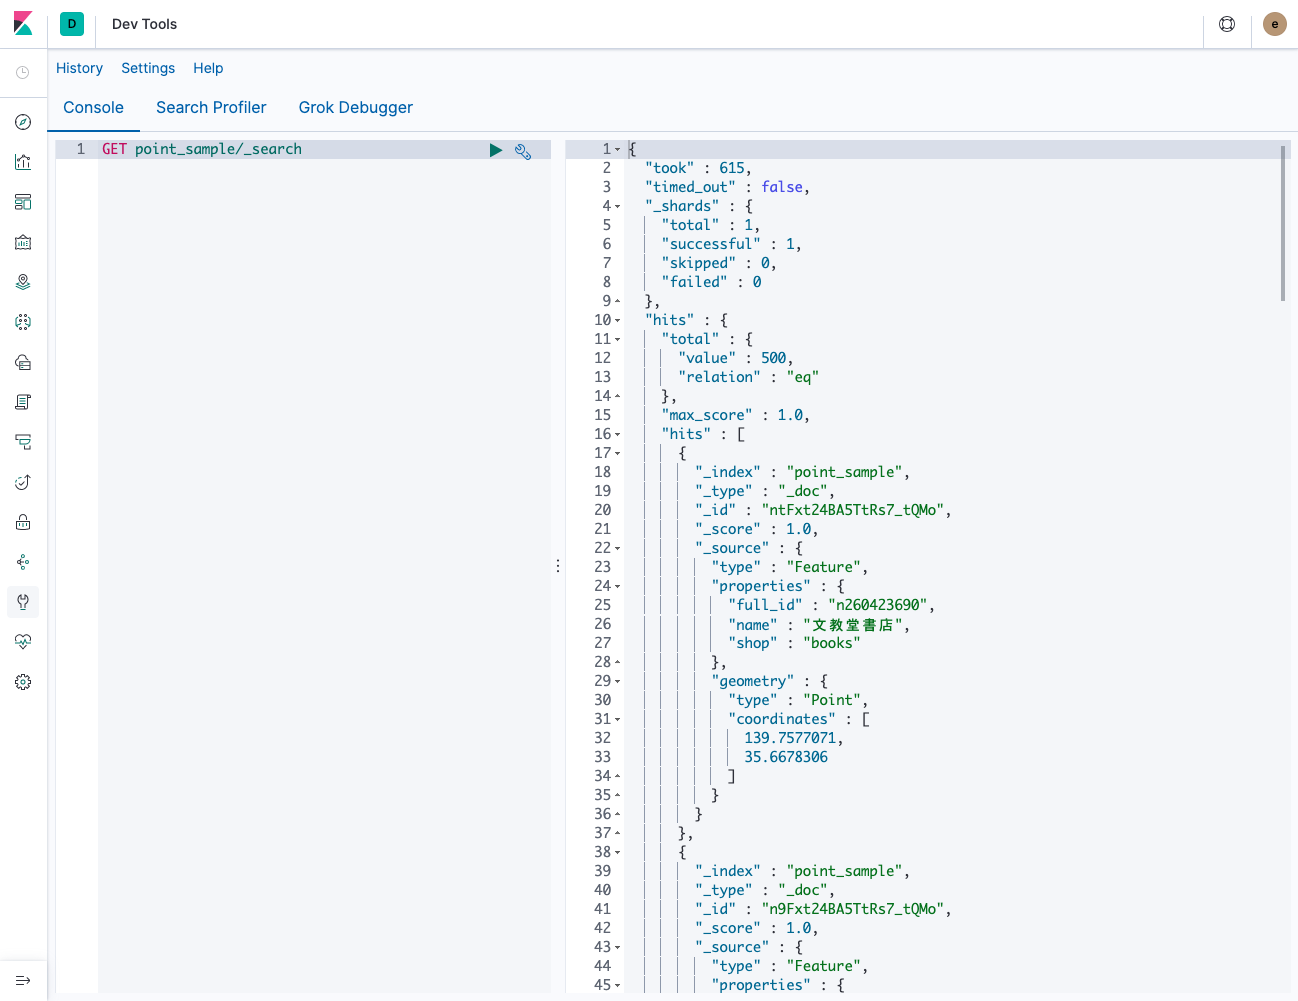
ここまでで、Elasticsearchへのポイントデータのインポートは完了です!
次に、Pythonで読み込む環境を構築します。今回はPythonのバージョンはv3.7.2で環境構築しました。
python -V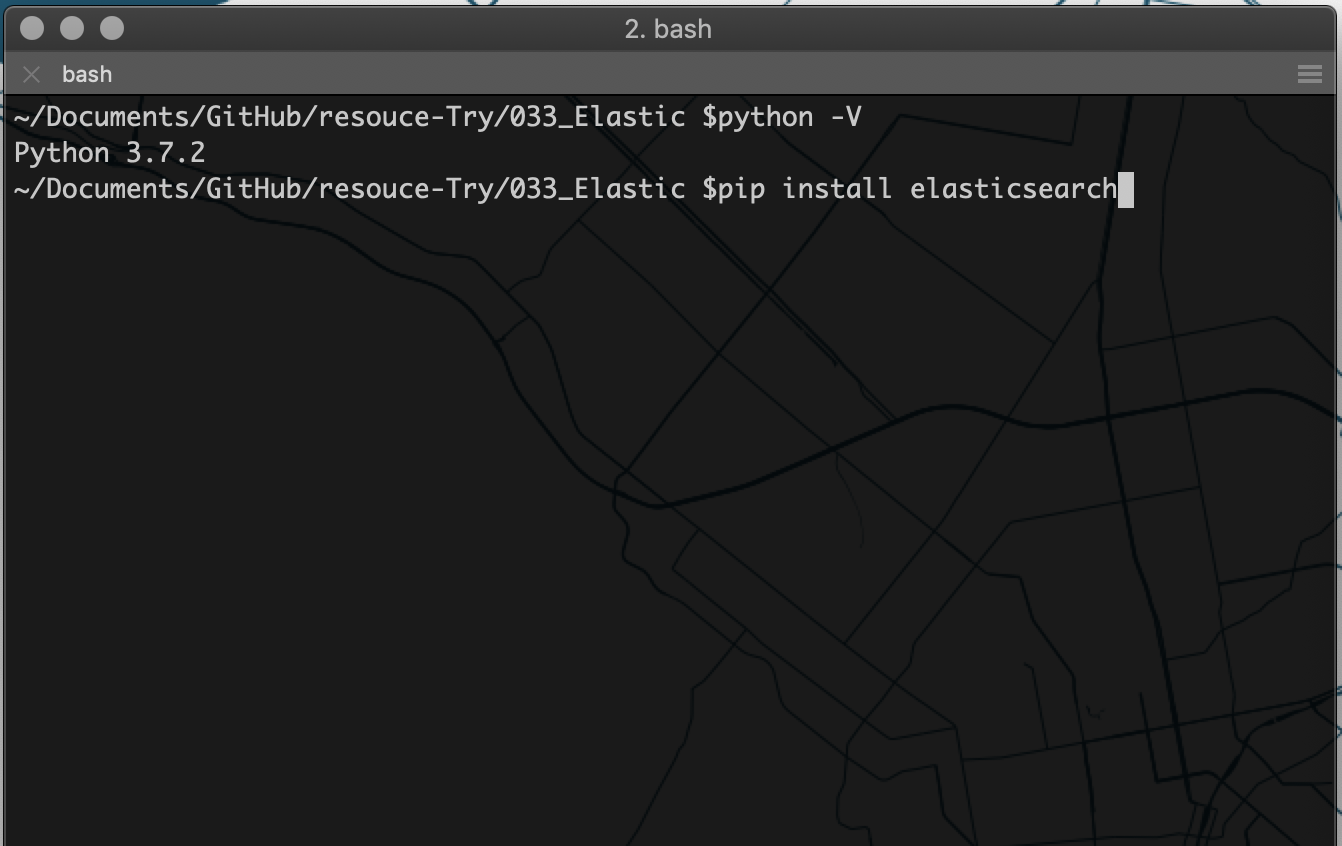
Python Elasticsearch Clientをインストール。
pip install elasticsearch
読み込むスクリプトを構築。
sample.py
#!/usr/bin/env python
# -*- coding: utf-8 -*-

# モジュール読み込み
from elasticsearch import Elasticsearch

# Elasticsearchに接続
es = Elasticsearch(cloud_id="CloudIdを入れます", http_auth=('ユーザー名を入れます','パスワードを入れます'))

# 接続情報表示
# print (es.info())

# ポイントデータ検索(bbox:左上経緯度・右下経緯度)
res = es.search(index="point_sample", body={
    "query":{
        "bool": {
            "must": {
                "match_all": {}
            },
            "filter": {
                "geo_shape": {
                    "geometry": {
                        "shape": {
                            "type": "envelope",
                            "coordinates" : [[139.7738, 35.6810], [139.7748, 35.6802]]
                        },
                        "relation": "within"
                    }
                }
            }
        }
    }
})

# ポイントデータ表示
for hit in res['hits']['hits']:
    print(hit["_source"])
ライブラリをインポートし、Elasticsearchに接続します。今回はElastic Cloudを利用したのでその設定方法を記載しています。
# モジュール読み込み
from elasticsearch import Elasticsearch

# Elasticsearchに接続
es = Elasticsearch(cloud_id="CloudIdを入れます", http_auth=('ユーザー名を入れます','パスワードを入れます'))
ポイントデータを空間検索する条件を入れます。今回はインデックスが「point_sample」で、検索条件は左上・右下経緯度のbbox内にあるポイントデータを検索しました。
# ポイントデータ検索(bbox:左上経緯度・右下経緯度)
res = es.search(index="point_sample", body={
    "query":{
        "bool": {
            "must": {
                "match_all": {}
            },
            "filter": {
                "geo_shape": {
                    "geometry": {
                        "shape": {
                            "type": "envelope",
                            "coordinates" : [[139.7738, 35.6810], [139.7748, 35.6802]]
                        },
                        "relation": "within"
                    }
                }
            }
        }
    }
})
検索結果をコンソールに表示します。
# ポイントデータ表示
for hit in res['hits']['hits']:
    print(hit["_source"])
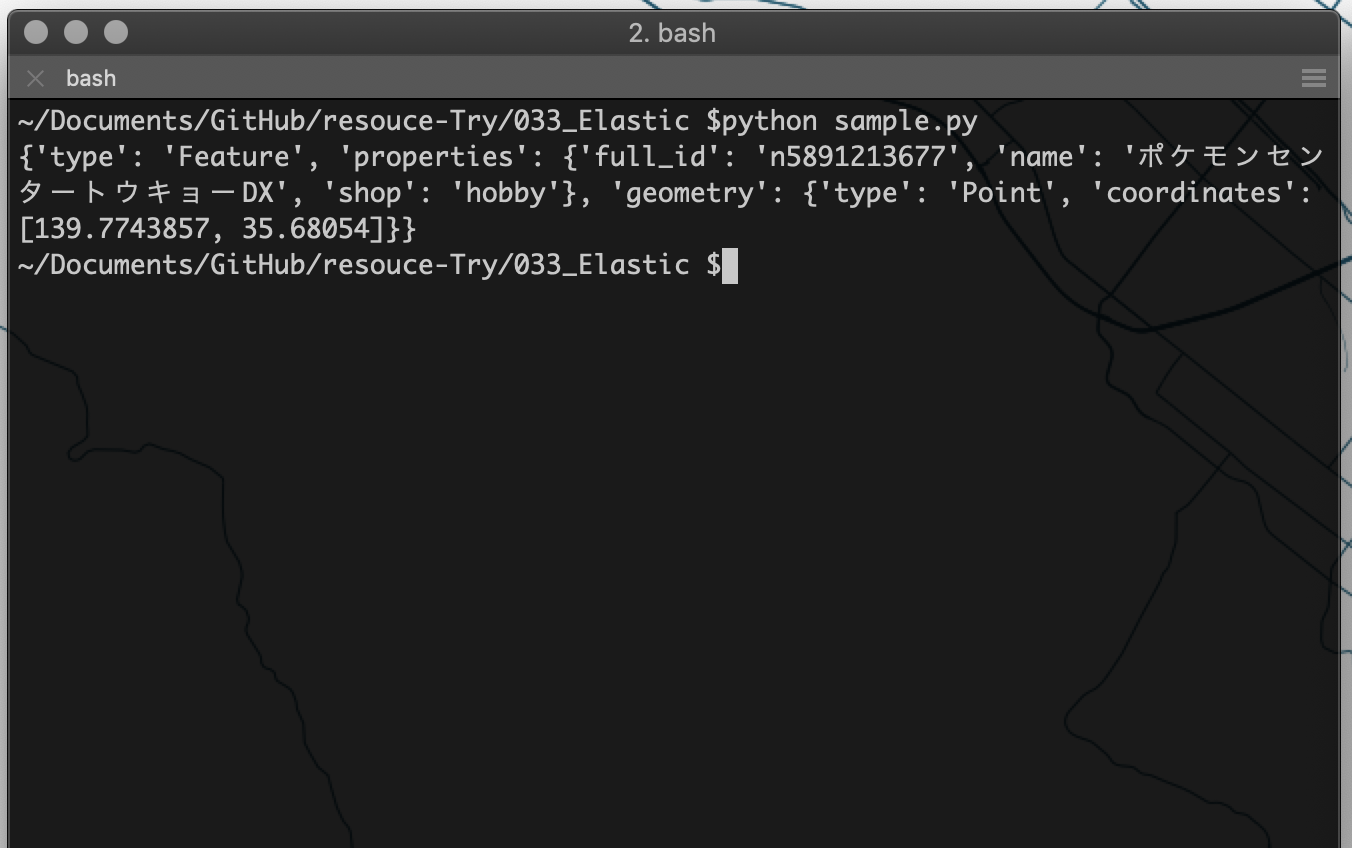
スクリプトを実行すると、「ポケモンセンタートウキョーDX」の1件が検索されます。
python sample.py
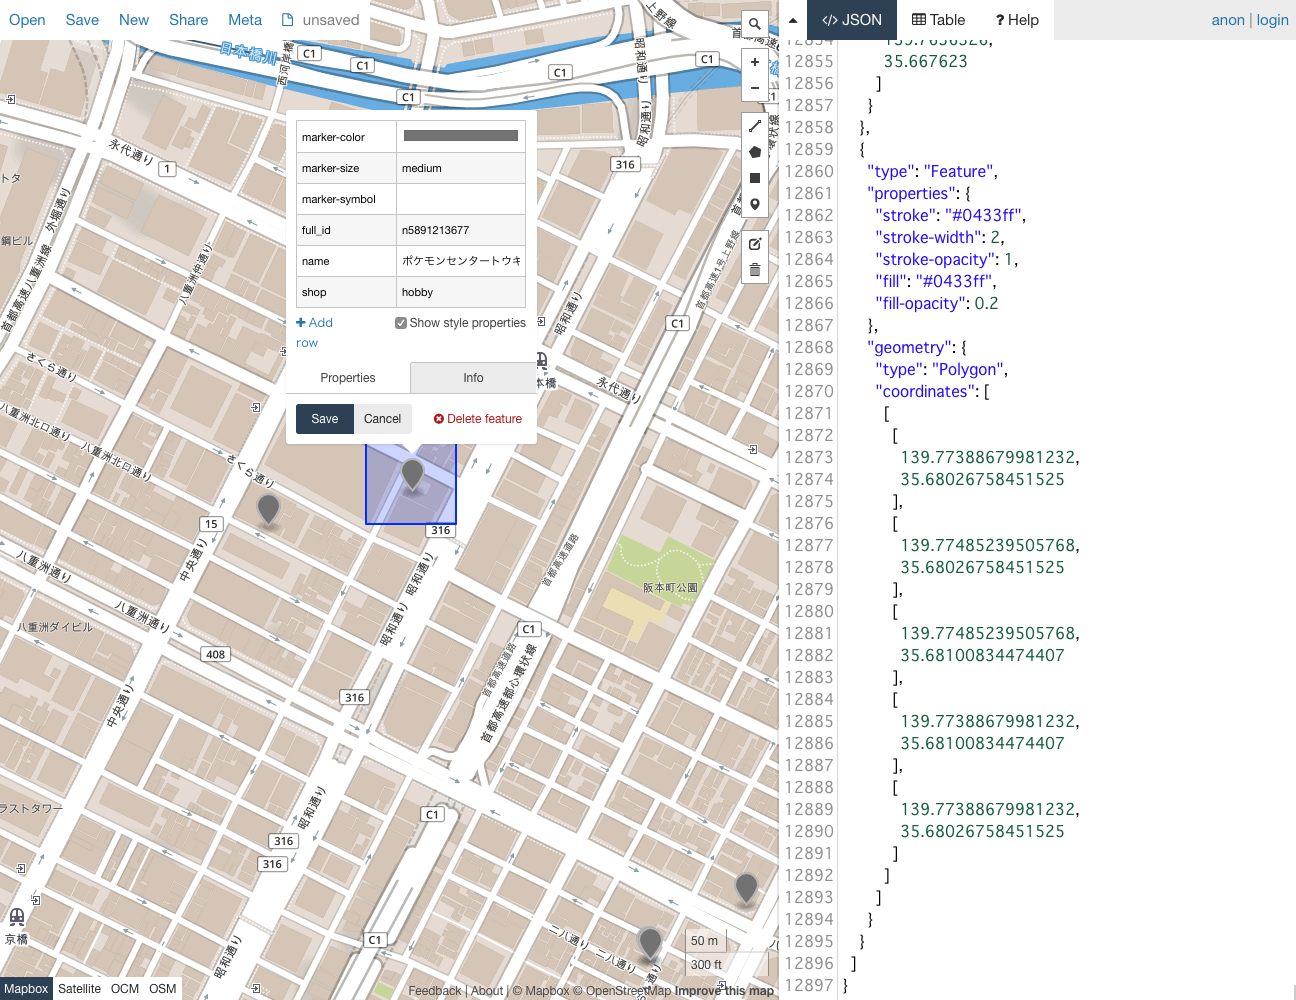
最後に、geojson.ioを利用して、ポイントデータとbboxを可視化して確認してみました。指定したbbox内には「ポケモンセンタートウキョーDX」の1件のみなので、正常に検索できているのが確認できました!

ElasticsearchとPythonで空間検索ができました!
Elasticsearchへの接続が手軽にできるのが確認できたので、DjangoやFlaskと組み合わせて空間検索用のAPI配信ができそうです!


